Get started on Mac
Create your own VPN server with Warrenet™ and connect your Mac to it. There’s no command line and no configuration file.
Before you begin
You need:
- a Mac with macOS 14 Sonoma or later
- an account with DigitalOcean, Akamai, or Vultr (you can create one from the app)
- a Warrenet subscription, which you need to create a server and to connect
Your cloud provider bills you separately for your server, from the moment it exists until you delete it. Warrenet shows the monthly price before you deploy.
Step 1: Connect your cloud account
Open Warrenet and select Cloud in the sidebar.
Choose your provider under Provider.
Click Connect with your provider’s name, for example Connect DigitalOcean.
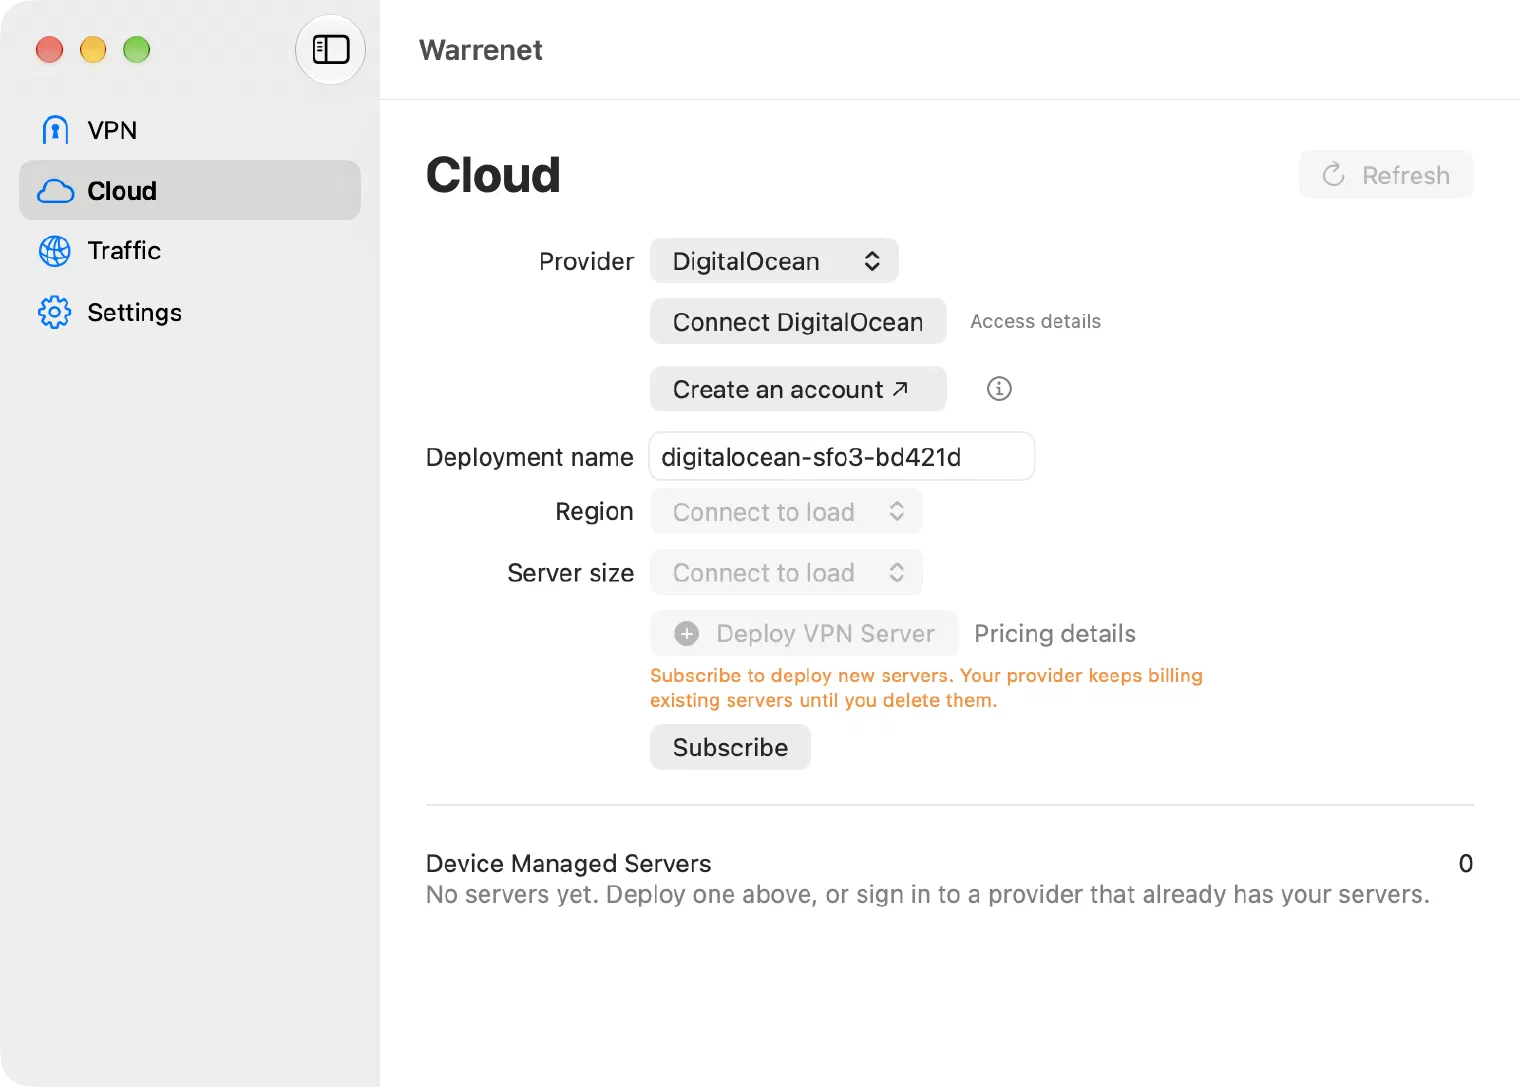
Sign in on your provider’s page and approve access. Warrenet never sees your password.
No account yet? Click Create an account to open your provider’s sign-up page. Some of these are referral links; the info button beside it explains what that means.
If Vultr opens its dashboard instead of returning to Warrenet, close the sign-in window and click Continue after sign-in.
Step 2: Subscribe
You can’t deploy a server until you subscribe.
- Select Settings in the sidebar, then click Subscription.
- Choose a plan and click Subscribe.
The App Store handles the payment. See Your subscription for details.
Step 3: Create your server
Select Cloud in the sidebar.
Choose a Region. A region close to you is usually faster.
Choose a Server size. Each size shows its monthly price and included data transfer. Pricing details explains what your provider charges for.
Change the Deployment name if you want to. This is your server’s name.
Click Deploy VPN Server.
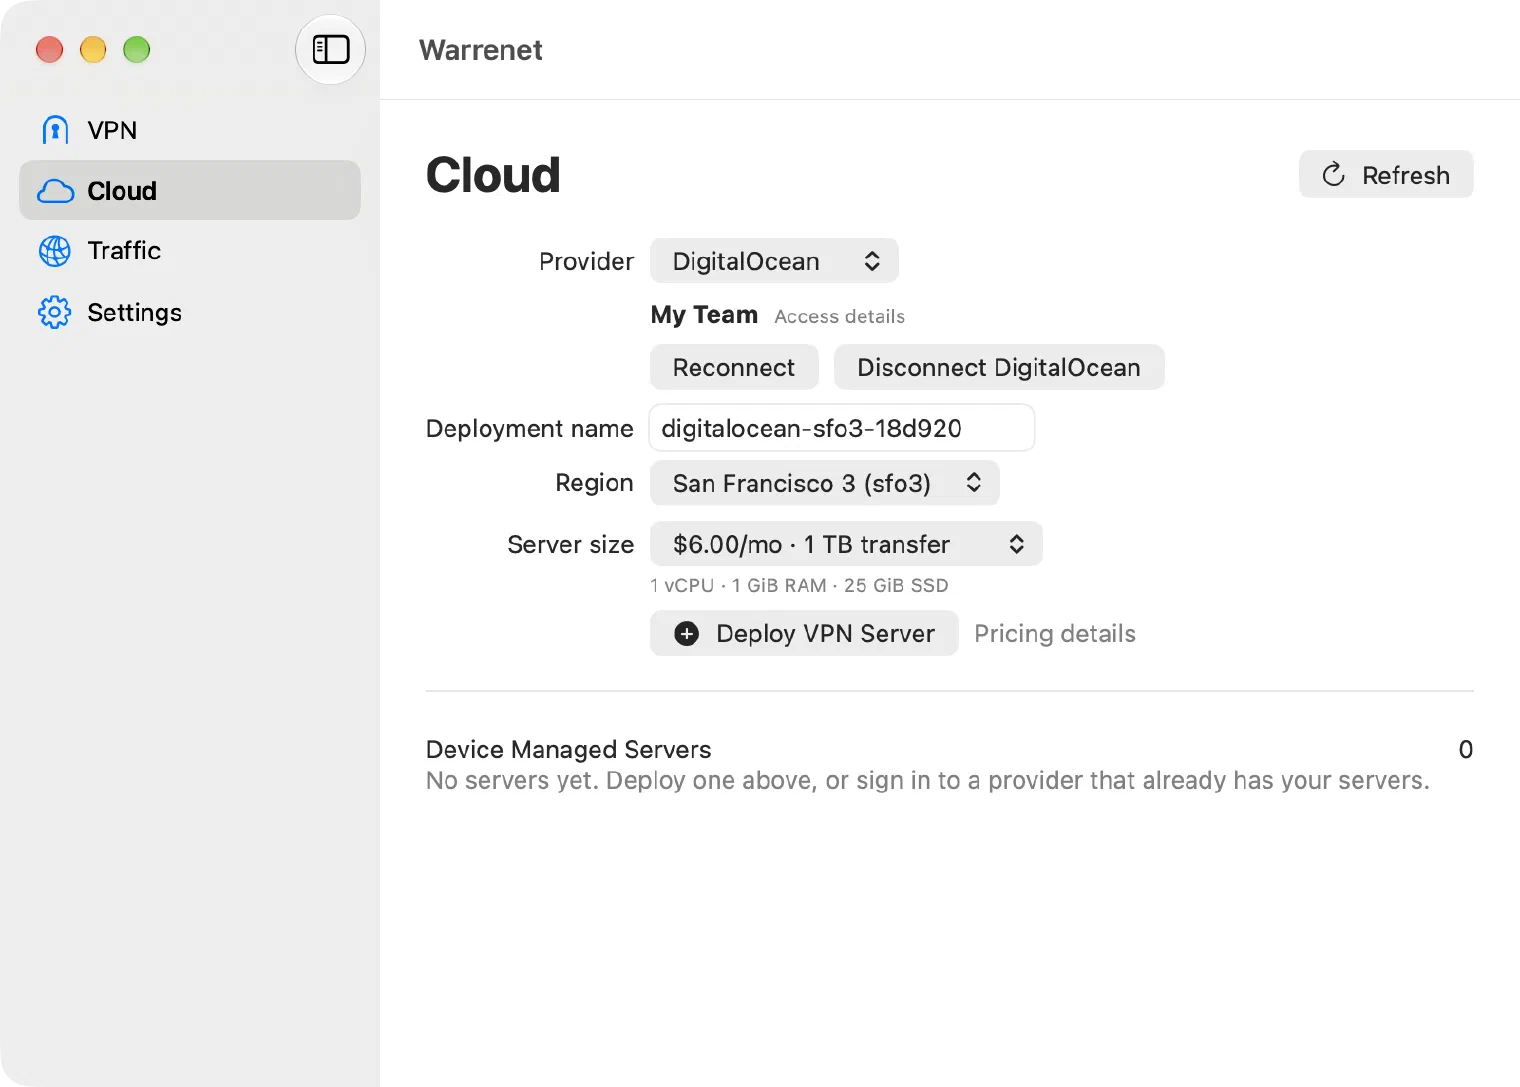
Warrenet creates and sets up the server, and shows its progress in Cloud. This usually takes a few minutes. If you quit Warrenet while it works, it picks up the setup when you open the app again, as long as you’re still signed in to your provider. If Cloud shows Check Status or Retry instead, click it.
When the server is ready, it appears under Device Managed Servers with VPN: Reachable, and it’s added to the VPN section.
Step 4: Connect
Select VPN in the sidebar. Your server is listed under Servers and already selected.
Click Connect.
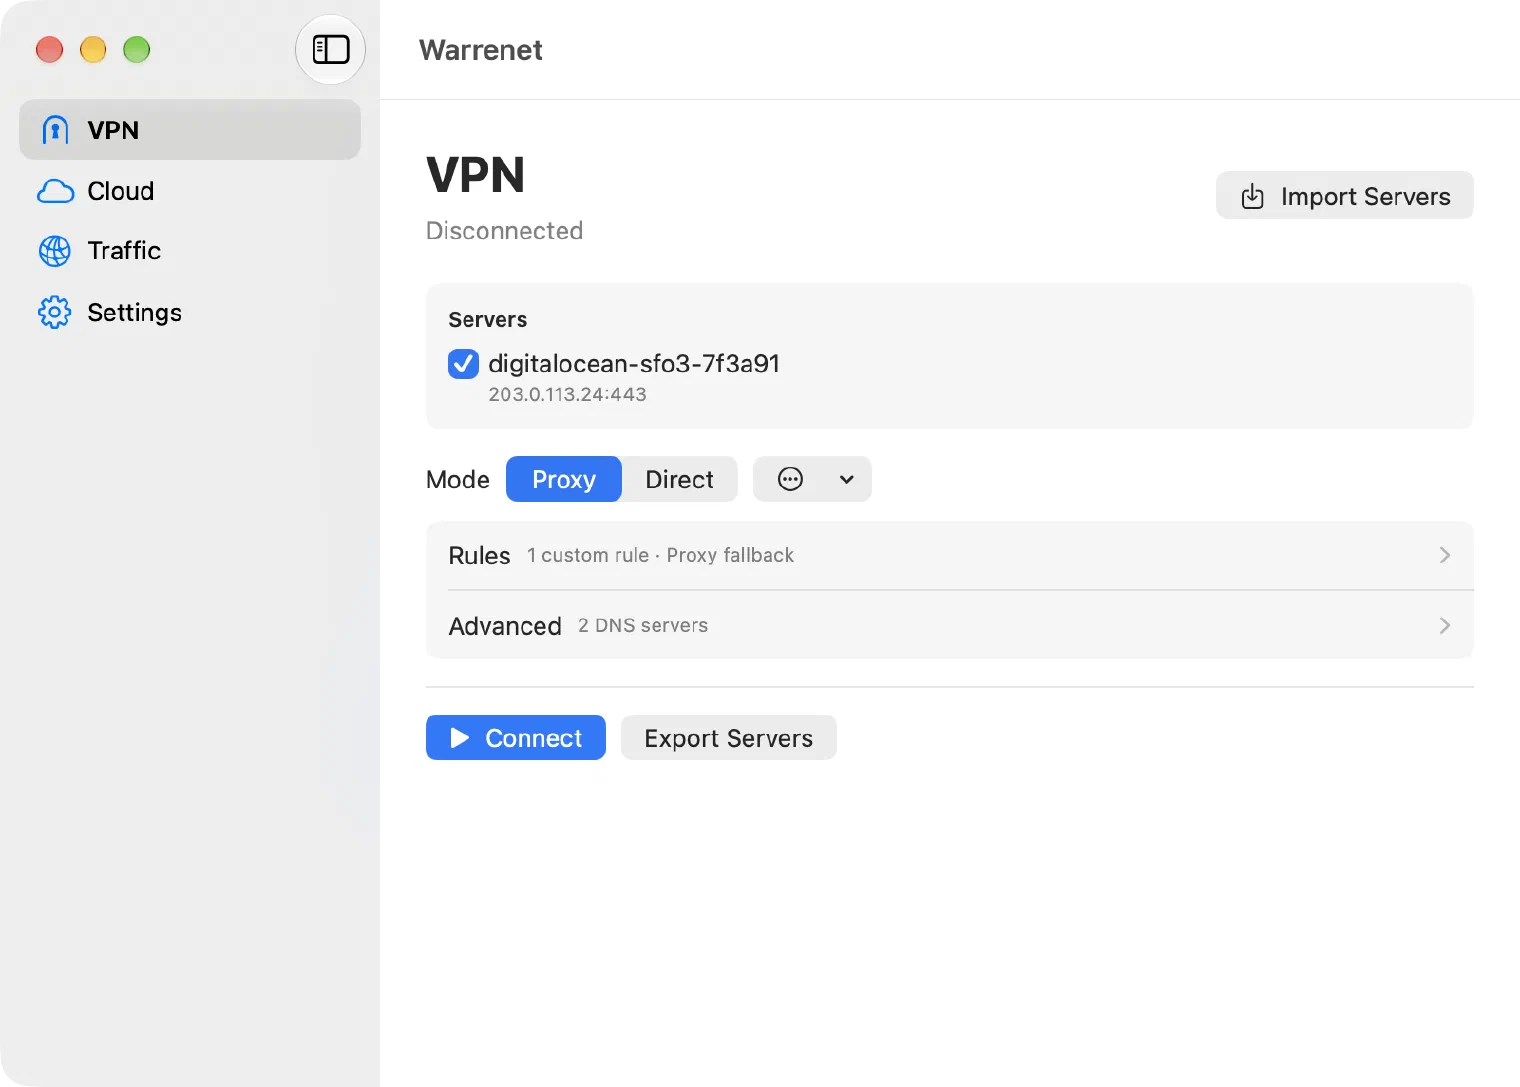
The first time you connect, macOS asks to add a VPN configuration. Allow it, and confirm with your password or Touch ID if asked.
The status under VPN changes to Connected. To stop using the VPN, click Disconnect.
Use the menu bar
Warrenet adds an icon to your menu bar. Click it to connect, disconnect, choose servers, or change the mode without opening the main window. It also shows your upload and download speeds.
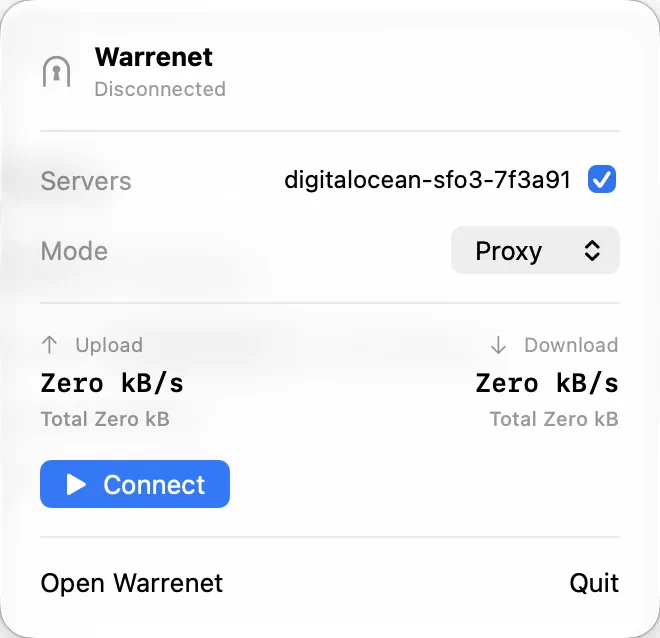
Closing the Warrenet window keeps the app running in the menu bar, and the VPN stays on. Quitting Warrenet disconnects the VPN.
What’s next
- Add another device and share your server with it through iCloud.
- Turn on Ad Block and set up rules.
- Delete a server when you no longer need it, so its charges stop.
Need more help? Contact support.